Monday, March 30, 2009

Compressed Landscapes in Yosemite

Snow-Covered Ridges, Yosemite
Snow-Covered Ridges, Yosemite; Canon 30D, Canon 200mm f/2.8L II

My newest lens for the Yosemite trip was a Canon 200mm f/2.8L II, acquired a couple weeks before going. I was hoping to get some good landscape detail shots, and I did. In fact, I would say that my two favorite images from the trip are the two posted here. Yosemite Valley itself is nice, but everybody can take that picture; while I'm sure these two are not unique, they do show what I saw in the valley, and not just the valley itself. And needless to say, I'll be using the 200mm for landscapes whenever I have the chance!

Ridgeline With Trees, Yosemite
Ridgeline With Trees, Yosemite; Canon 30D, Canon 200mm f/2.8L II

Thursday, March 26, 2009

Yosemite Waterfalls (or, always bring your cleaning supplies)

Bridalveil Falls 1
Bridalveil Falls 1; Canon 30D, Sigma 10-20mm f/4-5.6

Had a long weekend near Yosemite last weekend, and we managed to get a half day in Yosemite. As you can see, it wasn't the best weather; it kept raining and showering throughout the day. However, I did manage to get some very brooding shots of Yosemite, including the one of Bridalveil Falls above.

Unfortunately, that shot meant that I couldn't use my Sigma 10-20mm for the rest of the trip, because the combination of mist and a light shower covered the front element with water droplets (and with an ultra-wide-angle lens you can't hold an umbrella over it - I have another shot of Bridalveil Falls with a red umbrella covering the top right corner!), and I forgot to bring my lens cleaning kit with me for the weekend, not thinking that I'd need it. Well, lesson learned there, but I feel it was worth it. A few more pictures of Yosemite waterfalls below; more to come from Yosemite later this week as well.

Bridalveil Falls 2 Upper Yosemite Falls
Lower Yosemite Falls 1 Lower Yosemite Falls Detail 1 Lower Yosemite Falls Detail 2
Yosemite Waterfalls (Bridalveil, Upper, Lower); Canon 30D, Various lenses (Sigma 30mm f/1.4, Canon 200mm f/2.8)

Wednesday, March 25, 2009

iPPPD #2

Tree Bark (iPPPD #2)
Tree Bark; iPhone & CameraBag

Well, I'm off to a good start here, having missed several days due to being on vacation this weekend. I processed this one in CameraBag using the Lolo setting.

Wednesday, March 18, 2009

iPhone Photo Per Day (iPPPD)

Textured Wall Graffiti
Textured Wall Graffiti; iPhone & Photogene

Inspired by Chase Jarvis and his iPhone photos (check them out in his portfolio), I've decided I'll try to post one iPhone photo a day to Flickr and this blog, and I'll also try and discuss it, although I can't promise that every day. iPhone camera only, editing on the iPhone only, uploaded from the iPhone. I have several goals for this project; one is that since I have it with me all the time, I can try and capture the moments when I always say "I wish I had a camera". Another is that I can try and grow and practice by capturing what I see in everyday life. Yet another is that I can focus on composition and form, since that's really all I can control with such a simple camera.

The first of these pictures is the one you see above this. It's some graffiti on a nicely textured wall, tilted to draw the eye through the frame. Processing involved dropping the saturation slightly, levels, and adjusting the white balance to get the right combination of blue wall and late afternoon light. I also had to straighten it slightly, because I didn't get it quite right in camera. I used Photogene for all this, and uploaded with Darkslide.

Friday, March 13, 2009

Further Cyanotypes and Toning

Cyanotype Anne At Lunch
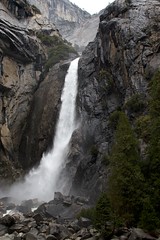
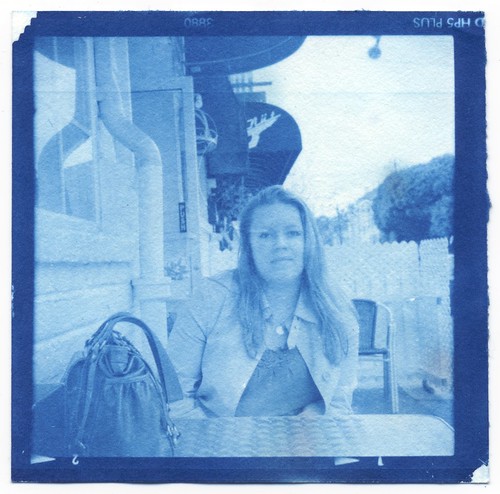
Anne At Lunch Cyanotype; 6x6 cyanotype on Cranes Kid Finish White; original photo here

I've experimented a little bit more with cyanotypes, not always with complete success. I've identified a few problems with the way I'm making them, as follows:

  • The line about 25% down from the top on most of my cyanotypes. This is caused by the negative sleeve I've been using, which is folded over, and thus has an edge there, causing a line in the print. The solution is to unsleeve the negatives and use plastic wrap or similar instead to protect it.

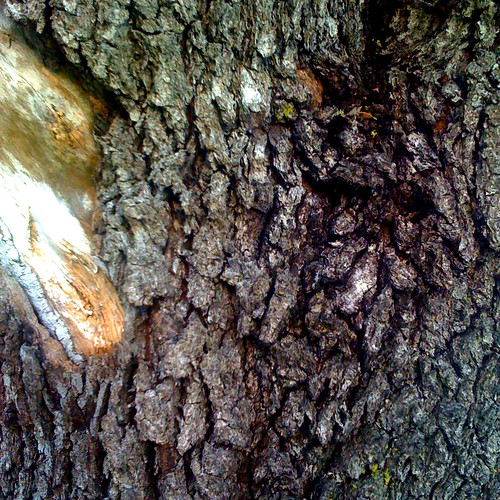
  • The strange discoloration on some of the cyanotypes; this is especially noticeable on the one below. I believe this is due to me using the same piece of brown paper bag for coating and drying the paper on, and so the wet paper is soaking up some dried solution, causing discoloration. Next time I'm going to use a fresh piece of paper towel.


Cyanotype Lake
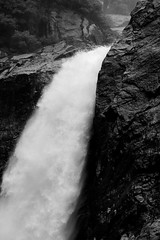
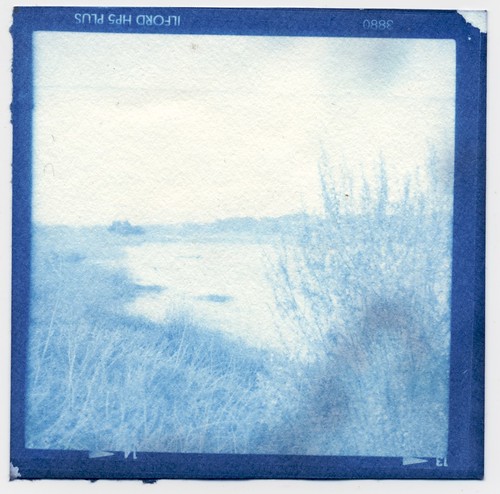
Cyanotype Lake; 6x6 cyanotype on Cranes Kid Finish White

I've also experimented with toning some of these cyanotypes, using Lipton tea and Arm & Hammer. Supposedly you can do this process in two directions, either 1) soak -> Arm & Hammer -> rinse -> Tea -> final rinse -> dry, or 2) soak -> Tea -> rinse -> Arm & Hammer -> final rinse -> dry. These should give you either a brown-ish cyanotype, or a dark black-purple cyanotype. However, so far I've only been able to successfully produce the brownish variant:

Bay Bridge Girders Cyanotype
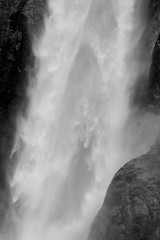
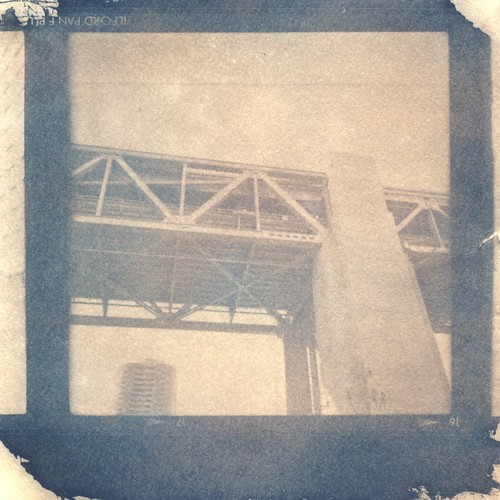
Bay Bridge Girders Cyanotype; 6x6 cyanotype on Cranes Kid Finish White, tea-toned with Lipton and Arm & Hammer; original photo here

My attempts at the darker variant seem to have turned out darker, but not distinctly different from their original state. The blue color is less brilliant, but otherwise there's little change:

Ferry Building Roof Cyanotype
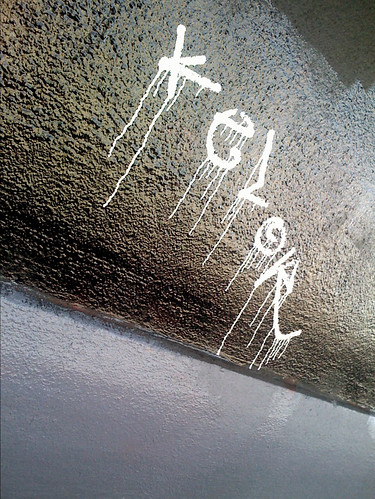
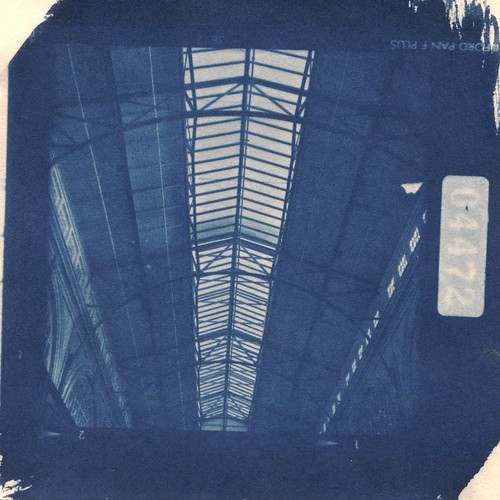
Ferry Building Roof Cyanotype; 6x6 cyanotype on Cranes Kid Finish White, toned with Arm & Hammer and Lipton; original photo here

I'll keep experimenting with toning; it's possible I'm making up the solutions incorrectly, and there are also some pre-made toning solutions you can buy. However, I'm very happy with the process in general; in fact, I put my original cyanotype in a 5x5 white wood frame, with black mat, and it looks wonderful. It's now hanging just inside my front door, and it makes me happy every time I walk past it.