Wednesday, January 28, 2009
My First Cyanotype
I successfully produced my first cyanotype print earlier this week. I became aware of the process because somebody on a forum mentioned the Van Dyke process, and provided a link to the wonderful Alternative Photography site. I'd been looking for a way to make prints, ideally contact prints, without a darkroom, and these processes were perfect for that. I spent the afternoon reading about them, and a few days later, ordered a cyanotype kit and some paper from the also wonderful Bostick & Sullivan. The materials arrived late last week, and so this week, I coated some paper, and started exposing cyanotypes.
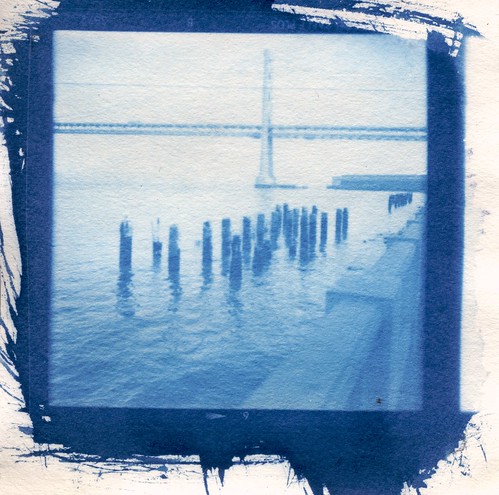
I first wanted to do some on Sunday afternoon, but there was far too little light for that. So instead, I put two out over breakfast on Monday morning. I took one out after breakfast, and it was quickly clear that it hadn't had nearly enough time. I'd read about people leaving prints out to expose all day, and I had nothing to lose, so I left the other one out all Monday, and washed it when I got home that evening. As you can see above, it turned out just fine (although I'm not sure what the line running through the top of it is from).
I'm exposing a few more that way this week, and intend to experiment a little with toning this weekend (tea and sodium carbonate, aka Arm & Hammer). I've started off small, with medium format negatives, which give lovely miniature prints. However, I may get some inkjet transparency paper at some point later and make larger prints. I could also improve the scanning; this scan is at least twice as much resolution as I need.
For now though, I'm very happy with the process! Look for more cyanotypes, including some toned ones, to appear soon.
Subscribe to:
Post Comments (Atom)

No comments:
Post a Comment